Make a miniature Black Forest cake from polymer clay
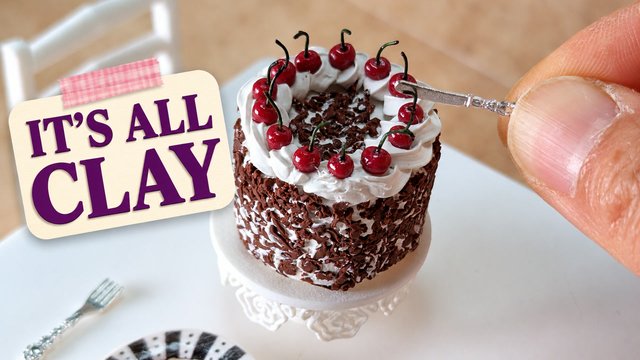
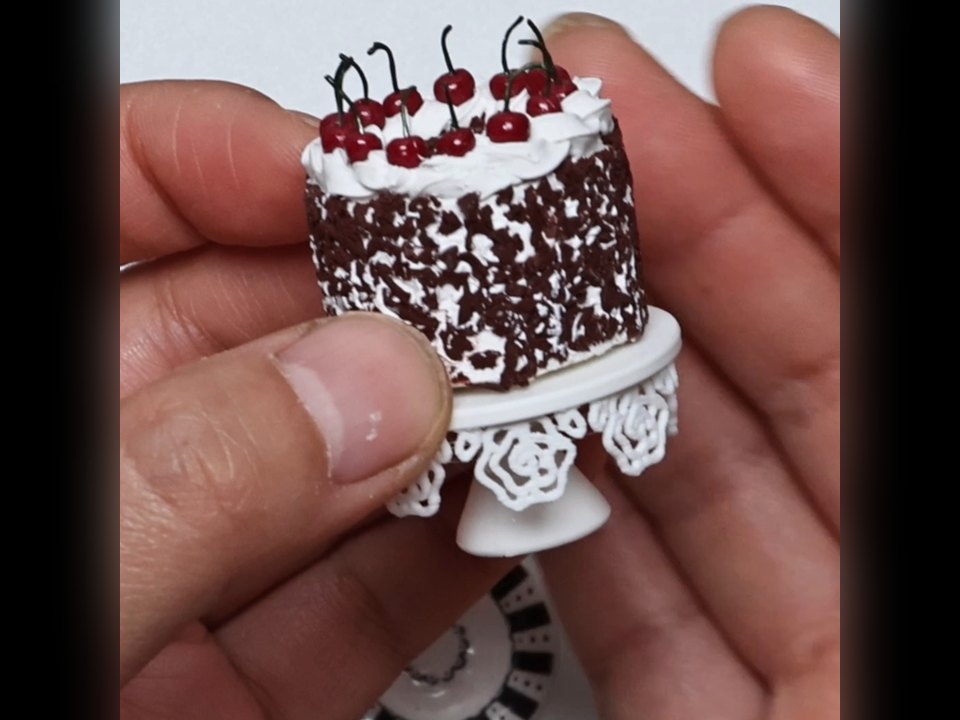
A tiny Black Forest cake that looks edible but is all polymer clay: the cake base, glossy cherries on wire stems, chocolate crumbs and piped cream, finished on a 3D printed cake stand.
Affiliate disclosure: this page contains Amazon affiliate links, marked "(paid link)". As an Amazon Associate I earn from qualifying purchases. It costs you nothing extra. More about affiliate links.
Length 11:04. On YouTube since October 31, 2026. The player loads from YouTube (youtube-nocookie.com) only when you press play. Watch on YouTube.
What you'll make
Coco's miniature Black Forest cake tutorial makes a tiny cake that looks edible but is polymer clay from the base to the cherries: a baked clay base, glossy cherries on wire stems, chocolate crumbs and piped clay cream. Below are the step times, the products from the video and the numbers Coco gives for each step.
The Amazon links are paid links (see the disclosure above). The 3D printable cake stand shown at the end of the video is Coco's own file: an instant download from this shop that you print yourself.
You'll make: a tiny 1/12 scale Black Forest cake, about 3 cm (1.2 in) across, made entirely from polymer clay and shown on a 3D printed cake stand.
Tiny cake, all clay0:00 in the video on YouTubeA first look at the finished miniature cake. Every part of it is polymer clay.
Step 1: The cake base1:01 in the video on YouTubeRoll white FIMO Soft clay as thick as your 3 cm cutter is tall (2 cm) and cut the base. Bake it at 230°F (110°C) for 30 minutes under a foil archway that does not touch the clay.
Step 2: The cherries2:03 in the video on YouTubeMix 6 parts red, 2 parts dark red and 3 parts translucent clay. Roll a 2 mm stick, cut 7 mm pieces, roll them into balls and poke a deep hole in each. Pre-bake the cherries for 10 minutes under foil.
Step 3: The wire stems2:52 in the video on YouTubeCut thin, flexible beading wire (0.46 mm) into 8 mm pieces and curve the tip. Paint the stems green with a touch of brown and let them dry for at least 30 minutes.
Step 4: Chocolate crumbs3:39 in the video on YouTubeRoll a 1 mm brown stick, press it onto paper and scrape it with a knife. Keep the crumbs under 2 mm, in mixed sizes.
Step 5: The piping cream4:22 in the video on YouTubeMix 1 teaspoon of FIMO Soft with 25 drops of clay softener, adding 5 drops at a time. Too hard to push? Add softener. No shape? Add more clay.
Step 6: Piping practice5:07 in the video on YouTubePractise the piping before you decorate the cake. Coco suggests doubling the cream recipe so you have enough to practise with.
Step 7: The base cream6:06 in the video on YouTubeThe base cream is about 1 mm thick, thinner and more flexible than the piping cream.
Step 11: Cherries on and bake8:34 in the video on YouTubePlace the cherries on the cake and bake the finished cake for 10 minutes under a foil archway. Do not overbake it, or the cream turns yellow.
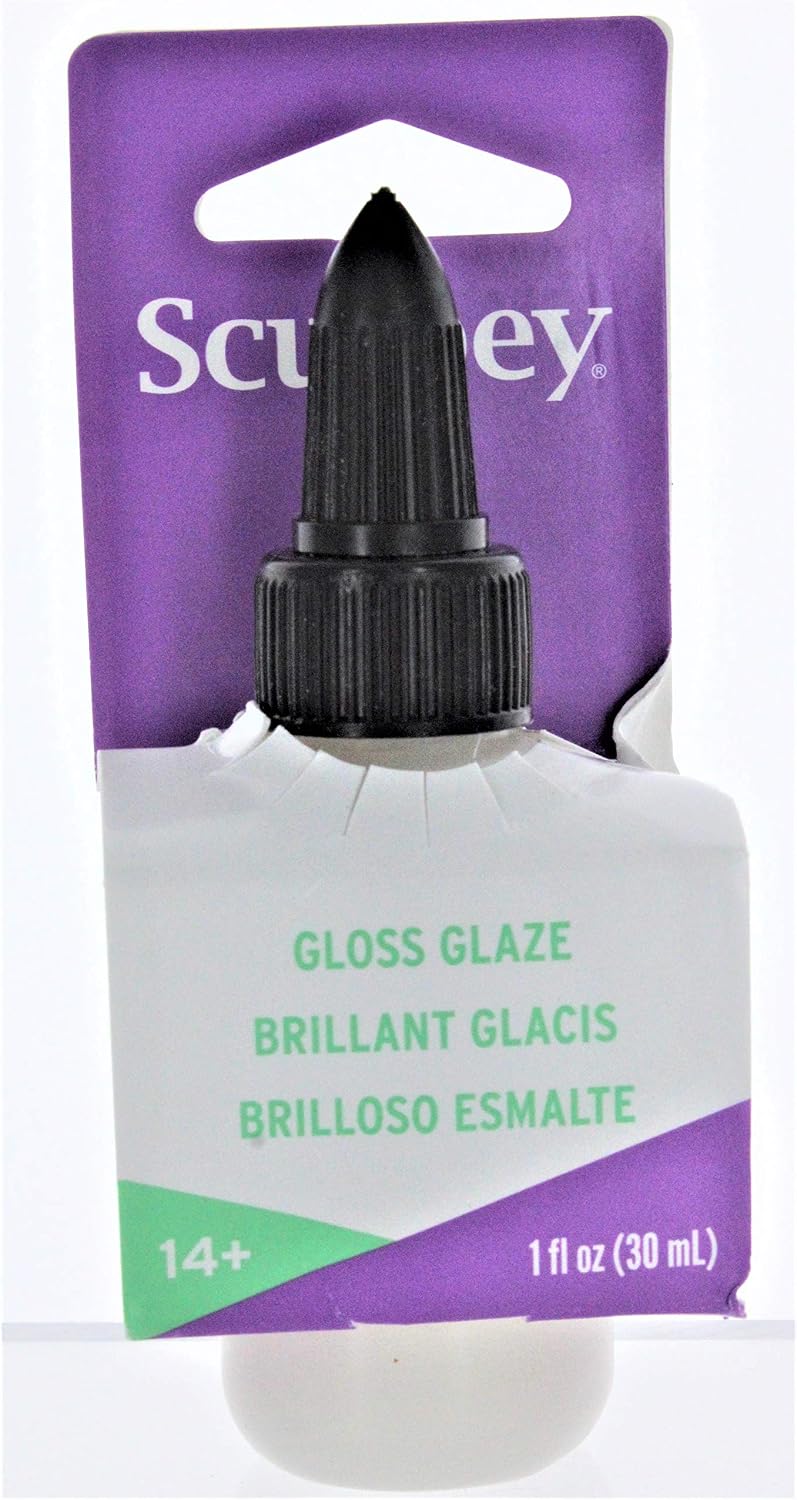
Step 12: Glaze the cherries8:57 in the video on YouTubePut a small drop of glaze on the brush, not on the cherry.
Step 13: The stems9:33 in the video on YouTubeFix the wire stems with instant glue in a well ventilated room. It sets in 30 seconds.
the final 11-minute cake video and its YouTube description (Brian and Coco, 2026-10-30)
Shop this video's products
The cake stand at the end of the video is a 3D printable file. It has two pieces, a platter with a skirt of pierced roses and a pedestal foot, that join with one dab of glue. The platter is 36 mm across and holds a cake up to 30 mm wide. Instant download, for personal use only. You need a 3D printer.
Instant download
Miniature Cake Stand STL, 1:12 Pierced Rose Dollhouse Cake Stand, 3D Print File
$4.99
3D print files (STL) · pierced rose cake stand · 36 mm platter, 17.8 mm tall · two pieces, one glue joint
Licence for Coco's designs: Personal use only: selling finished items made with these designs or files is not allowed, and the files may not be shared or resold. Instant downloads; prices in US dollars.
The supplies from Coco's cake video, grouped by step. Choose the step you're working on. Anything without a link is something Coco uses that is easy to find in any craft store.
As an Amazon Associate I earn from qualifying purchases. "View on Amazon (paid link)" buttons are Amazon affiliate links; Coco's own designs are sold on this site. Check the seller's size and product details before ordering.
1 · The cake base
Clay
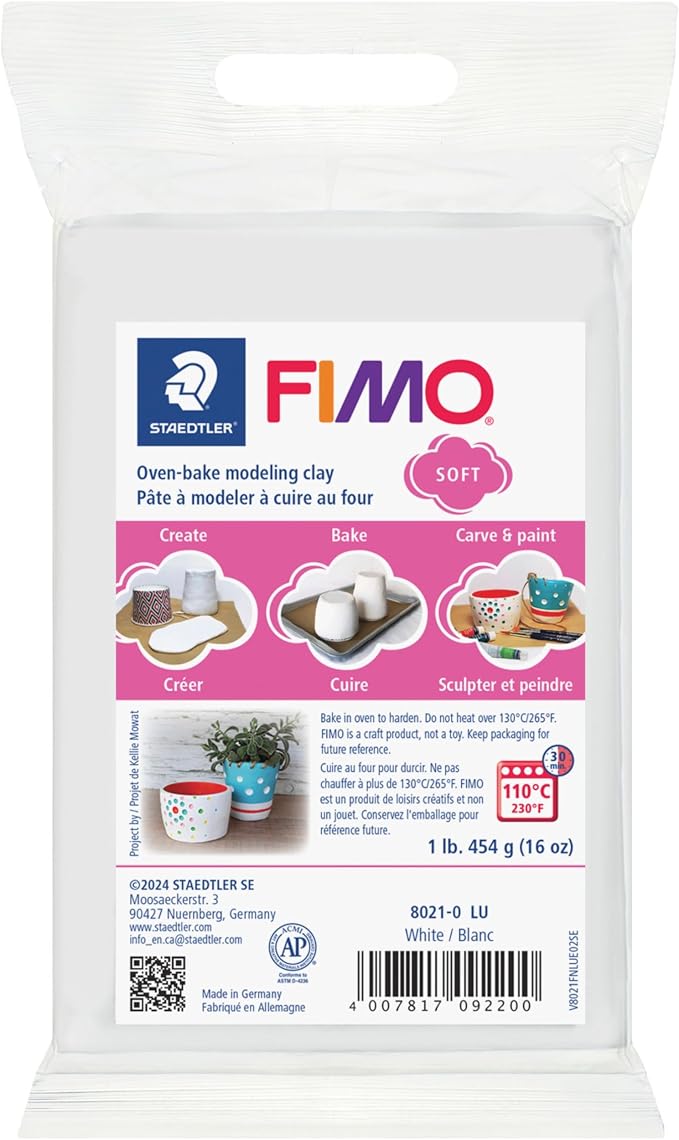
FIMO Soft White Polymer Clay
One-pound block of white clay for the cake base and the cream.
Instant glue for fixing the wire stems; it sets in 30 seconds. This link is the 4 oz size, so the bottle in the video may be a different size. Use it in a well ventilated room.
Brown polymer clayRolled into a 1 mm stick and scraped into crumbs under 2 mm
Clay syringe with nozzlesFor piping the cream
Clear acrylic stamp block with a gridA flat, clear surface for working the clay
Small metal palette knife or scraperFor scraping and lifting the clay
Baby powder or cornstarchKeeps the clay from sticking
Pen, scissors, spoon and a barbecue stickEveryday tools used along the way
A few helpful notes
Always follow the baking temperature on your own clay's package. Coco bakes at 230°F (110°C), never leave the oven unattended, and keeps the clay under a foil archway so the foil does not touch it.
Do not overbake the finished cake: Coco bakes it for 10 minutes under a foil archway, because the cream turns yellow if it gets too hot.
If the piping cream is too hard to push, add more clay softener. If it will not hold a shape, add more clay.
Keep the chocolate crumbs under 2 mm and in mixed sizes so the cake looks like real chocolate shavings.
Use instant glue in a well ventilated room and keep it away from children. These miniatures have very small parts and are for decorative display only.
Safety: miniatures have small parts and are not food safe. Keep them away from young children and pets.
Questions & answers
How big is the cake?
The base is cut with a 3 cm round cutter, so the cake is about 3 cm (1.2 in) across, 1/12 scale.
Do I need the 3D printed cake stand?
No. The cake is all polymer clay and works on any small plate. The cake stand is an extra: a printable file you can get in the shop section of this page.
Why did my cream turn yellow?
It was probably baked too hot or too long. Coco bakes the finished cake for only 10 minutes under a foil archway and always follows the temperature on her clay's package.
What size is the cake stand?
The platter is 36 mm across and the assembled stand is about 17.8 mm tall. It holds a cake up to 30 mm wide.
Are the Amazon links affiliate links?
Yes. They are paid links: they cost you nothing extra, and they help Coco make more videos.
 Coco's Crafts