
Instant download
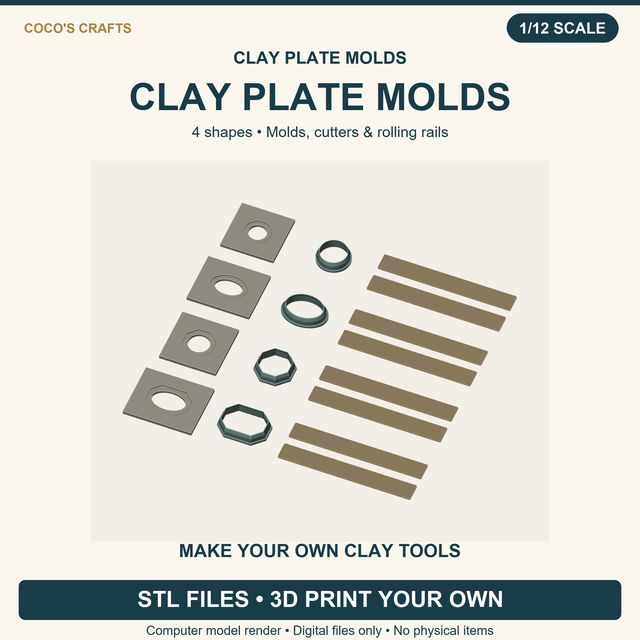
Miniature Clay Plate Mold STL Bundle, 4 Shapes, Cutters and Rolling Rails
$22.99
3D print files · molds, cutters & rails · all 4 shapes
See it in the shop: Miniature Clay Plate Mold STL Bundle, 4 Shapes, Cutters and Rolling Rails Coco's Crafts
Clay plate series · Part 2
Part 2 of the plate series: oval, octagon and serving platter shapes from Coco's 3D printed molds, a hand-painted lobster platter, and waterslide decals step by step.
Affiliate disclosure: this page contains Amazon affiliate links, marked "(paid link)". As an Amazon Associate I earn from qualifying purchases. It costs you nothing extra. More about affiliate links.
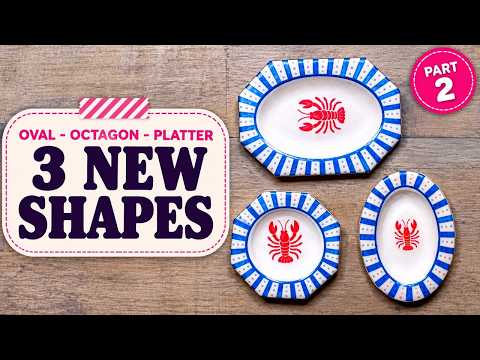 Play: Tiny Dollhouse Serving Platters: 3D Printed Molds, Paint Pens & Waterslide Decals (Part 2) (YouTube video)
Length 26:20. On YouTube since October 8, 2026. The player loads from YouTube (youtube-nocookie.com) only when you press play. Watch on YouTube.
Part 2 moves on to Coco's 3D printed molds for oval, octagon and serving-platter shapes, a hand-painted lobster platter, and waterslide decals step by step.
You'll make: oval, octagon and serving-platter clay plates, decorated by hand or with waterslide decals.
The molds in this video are Coco's clay mold kits: 3D print files with a mold, a cutter and rolling rails for each shape. Her waterslide decals have a rim and a centre picture for each plate shape. Instant downloads, for personal use only.
$22.99
3D print files · molds, cutters & rails · all 4 shapes
See it in the shop: Miniature Clay Plate Mold STL Bundle, 4 Shapes, Cutters and Rolling Rails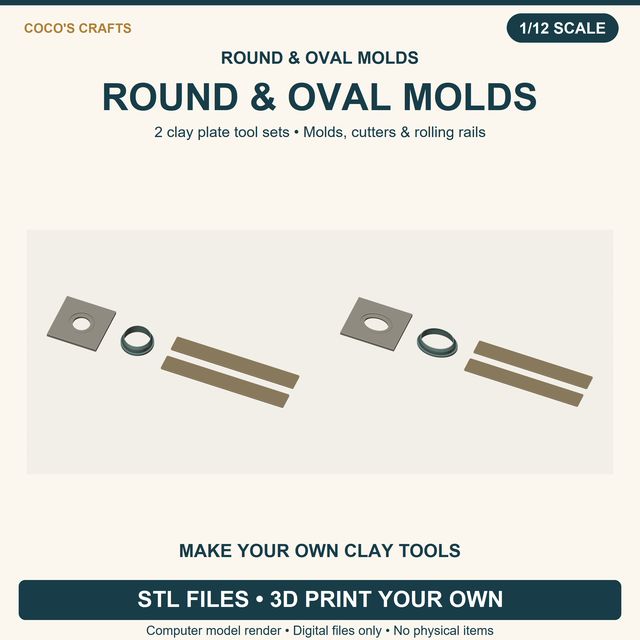
$18.99
3D print files · molds, cutters & rails · round + oval
See it in the shop: Round and Oval Miniature Clay Plate Tool STL Bundle | Molds, Cutters and Rolling Rails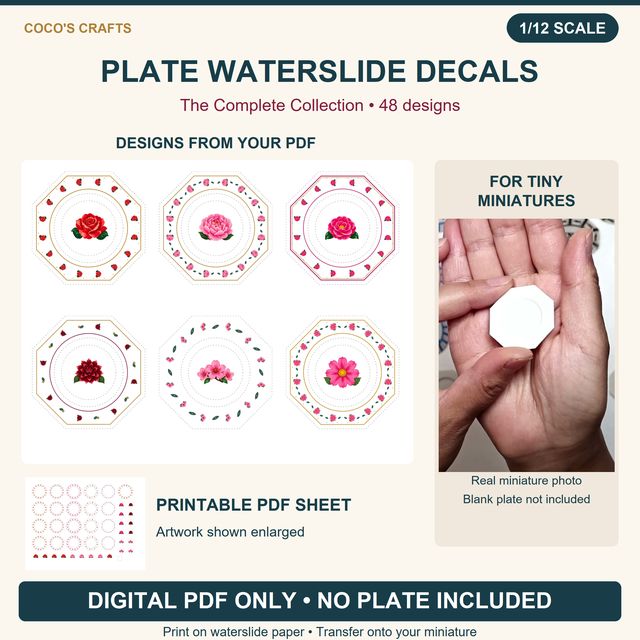
$14.99
48 designs · plates only · 4 shapes, rim + centre
See it in the shop: The Complete Collection Plate Waterslide Decals, 48 Designs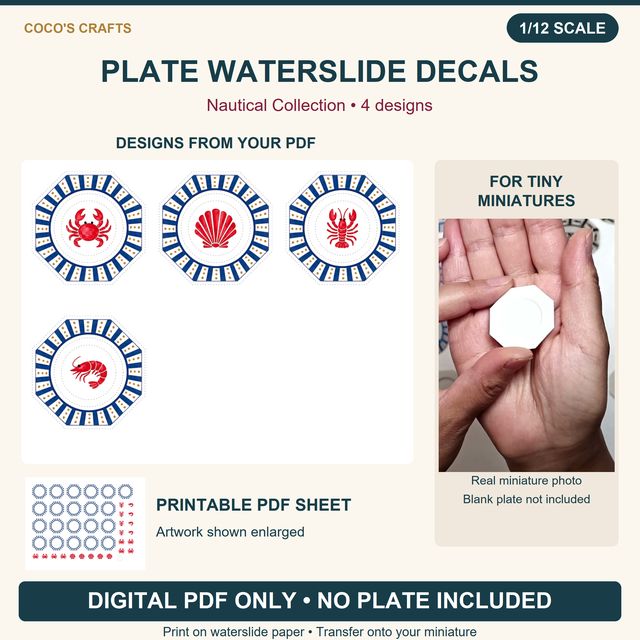
$6.99
4 designs · plates only · 4 shapes, rim + centre
See it in the shop: Nautical Collection Plate Waterslide Decals, 4 Designs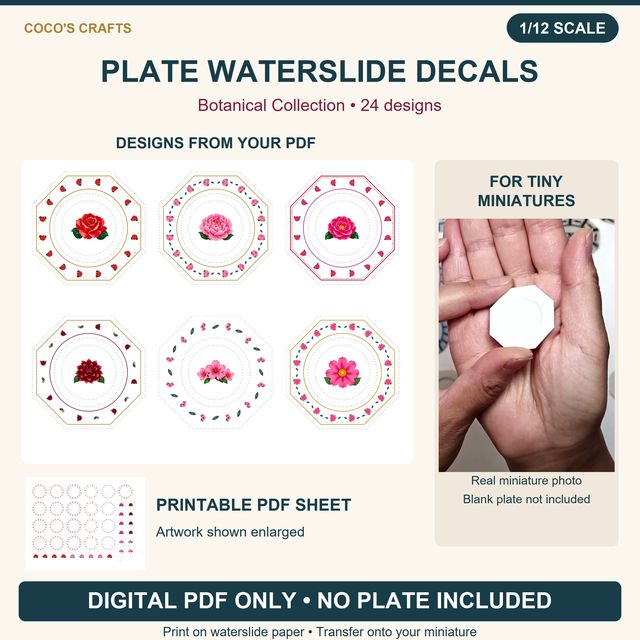
$12.99
24 designs · plates only · 4 shapes, rim + centre
See it in the shop: Botanical Collection Plate Waterslide Decals, 24 Designs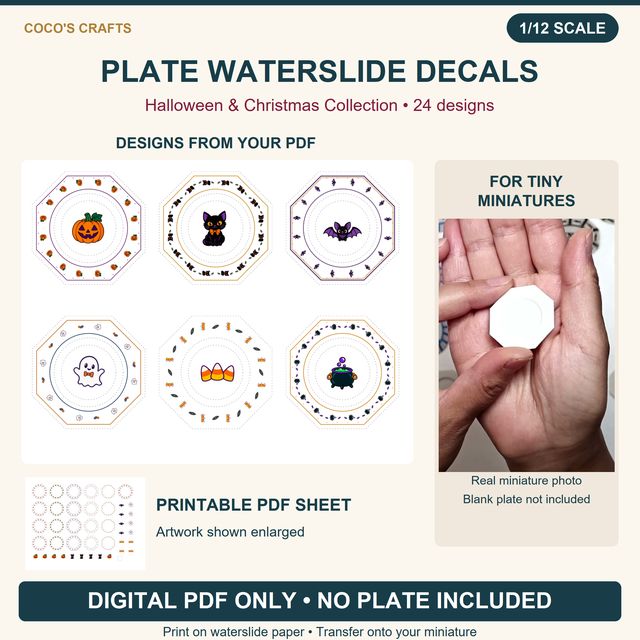
$12.99
24 designs · plates only · 4 shapes, rim + centre
See it in the shop: Halloween & Christmas Collection Plate Waterslide Decals, 24 DesignsLicence for Coco's designs: Personal use only: selling finished items made with these designs or files is not allowed, and the files may not be shared or resold. Instant downloads; prices in US dollars.
Choose the stage you're working on. Open its supply list for the smaller tools and everyday materials.
As an Amazon Associate I earn from qualifying purchases. "View on Amazon (paid link)" buttons are Amazon affiliate links; Coco's own designs are sold on this site. Check the seller's size and product details before ordering.
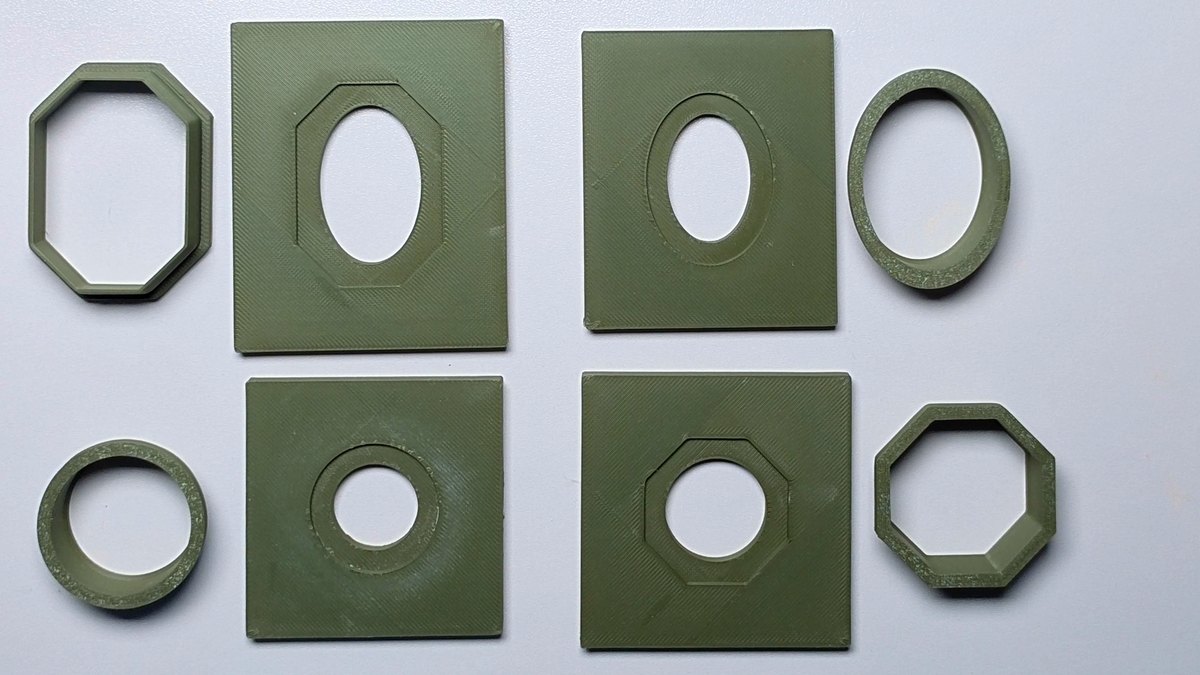
$22.99
3D print files · molds, cutters & rails · all 4 shapes
See it in the shop: Miniature Clay Plate Mold STL Bundle, 4 Shapes, Cutters and Rolling Rails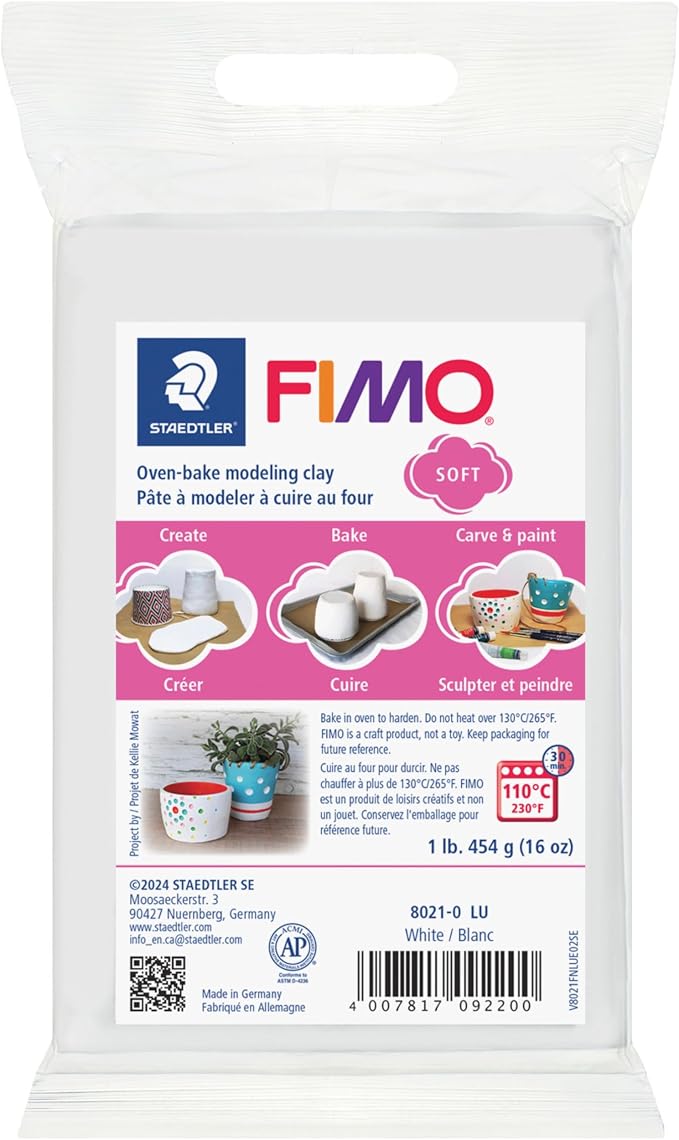
White | 1 lb / 454 g
View on Amazon (paid link): FIMO Soft 8021 Polymer clay, opens Amazon in a new tab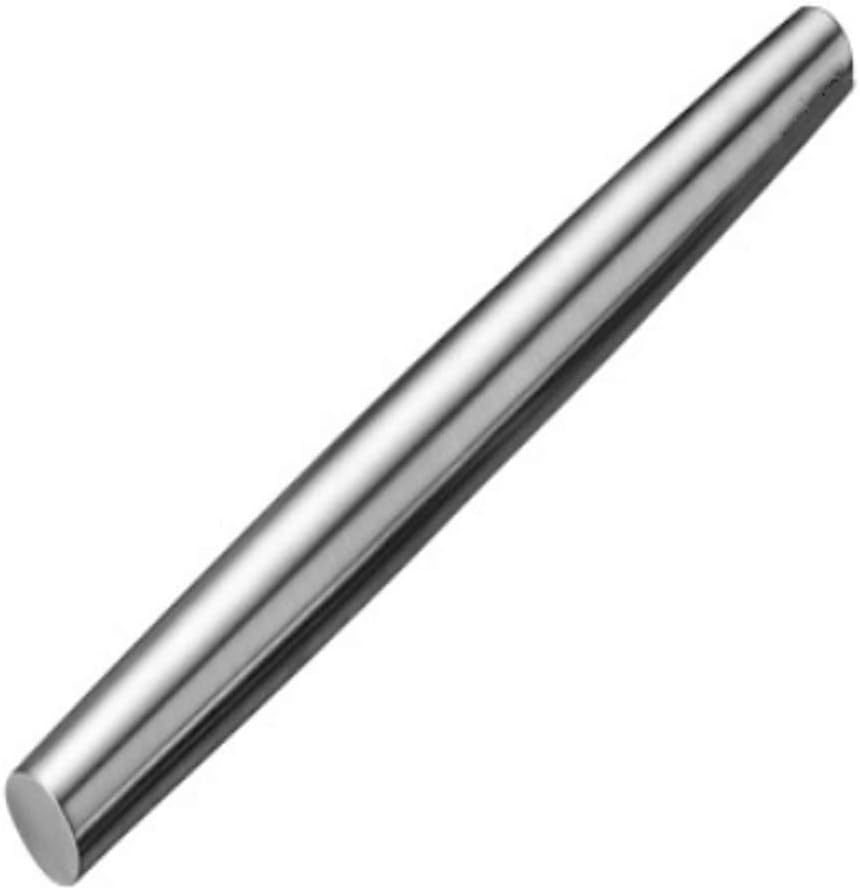
For rolling an even sheet of clay
View on Amazon (paid link): Stainless steel clay rolling pin, opens Amazon in a new tab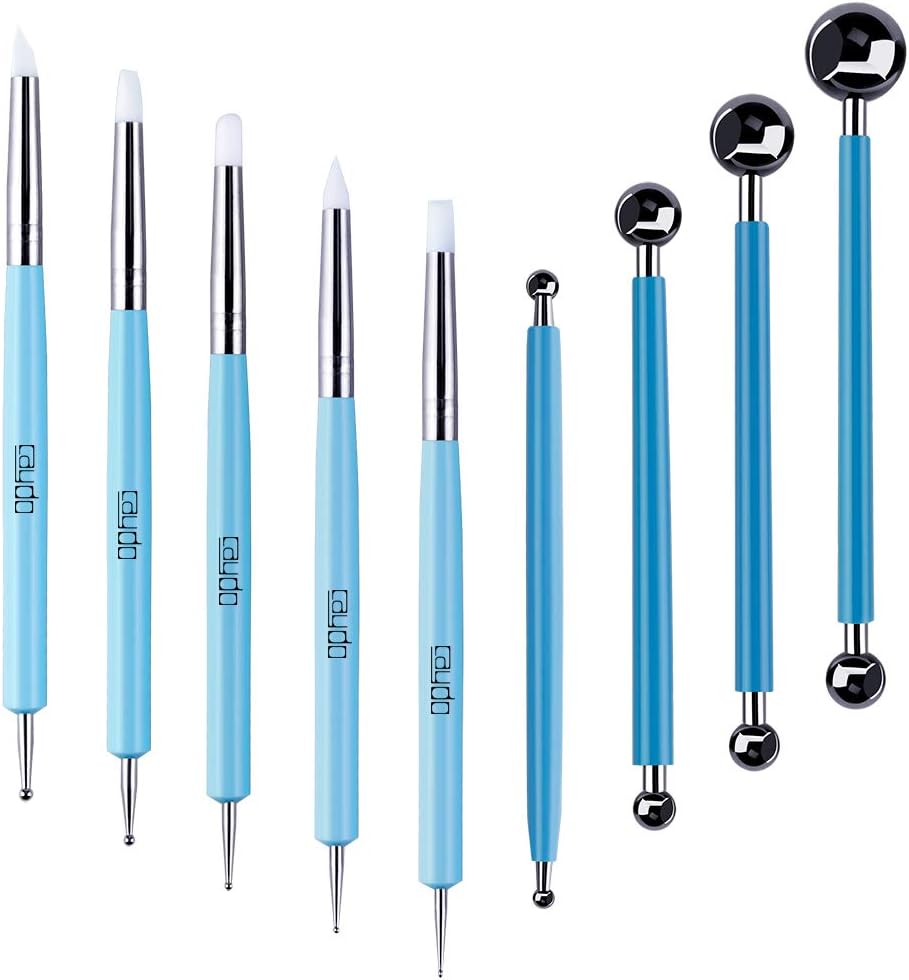
The tutorial uses 10 mm and approximately 15 mm ends. This Caydo set is a close match; check its tip sizes before ordering.
View comparable set on Amazon (paid link): Ball stylus / dotting tool, opens Amazon in a new tab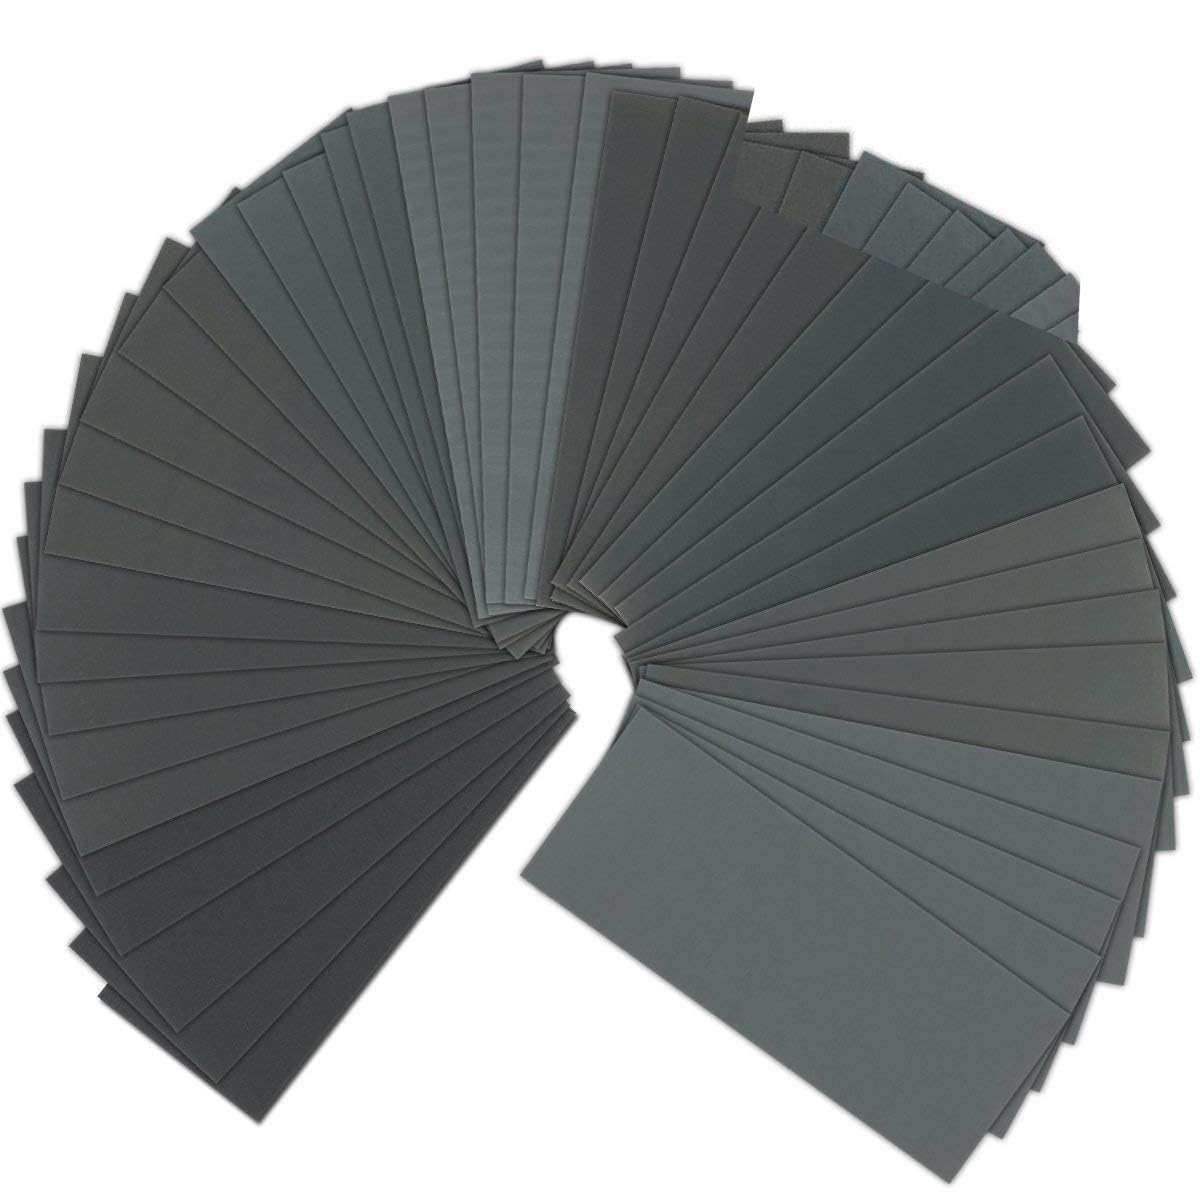
VERONES assortment | 90 sheets of fine and extra-fine grits
View on Amazon (paid link): Wet/dry sandpaper, 400 to 3000 grit, opens Amazon in a new tab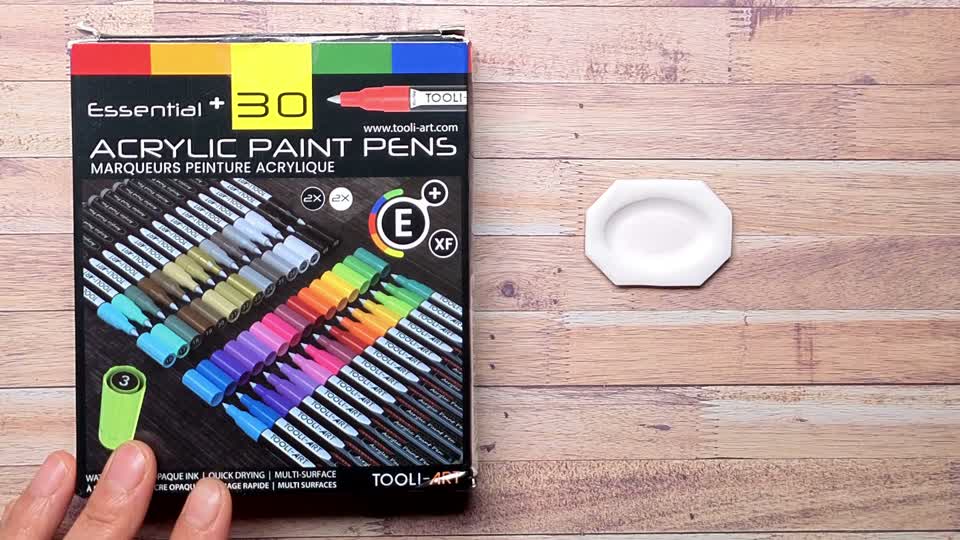
Essential colours | 30 pens | 0.7 mm extra-fine tip
View on Amazon (paid link): TOOLI-ART Essential 0.7 mm paint pens, opens Amazon in a new tab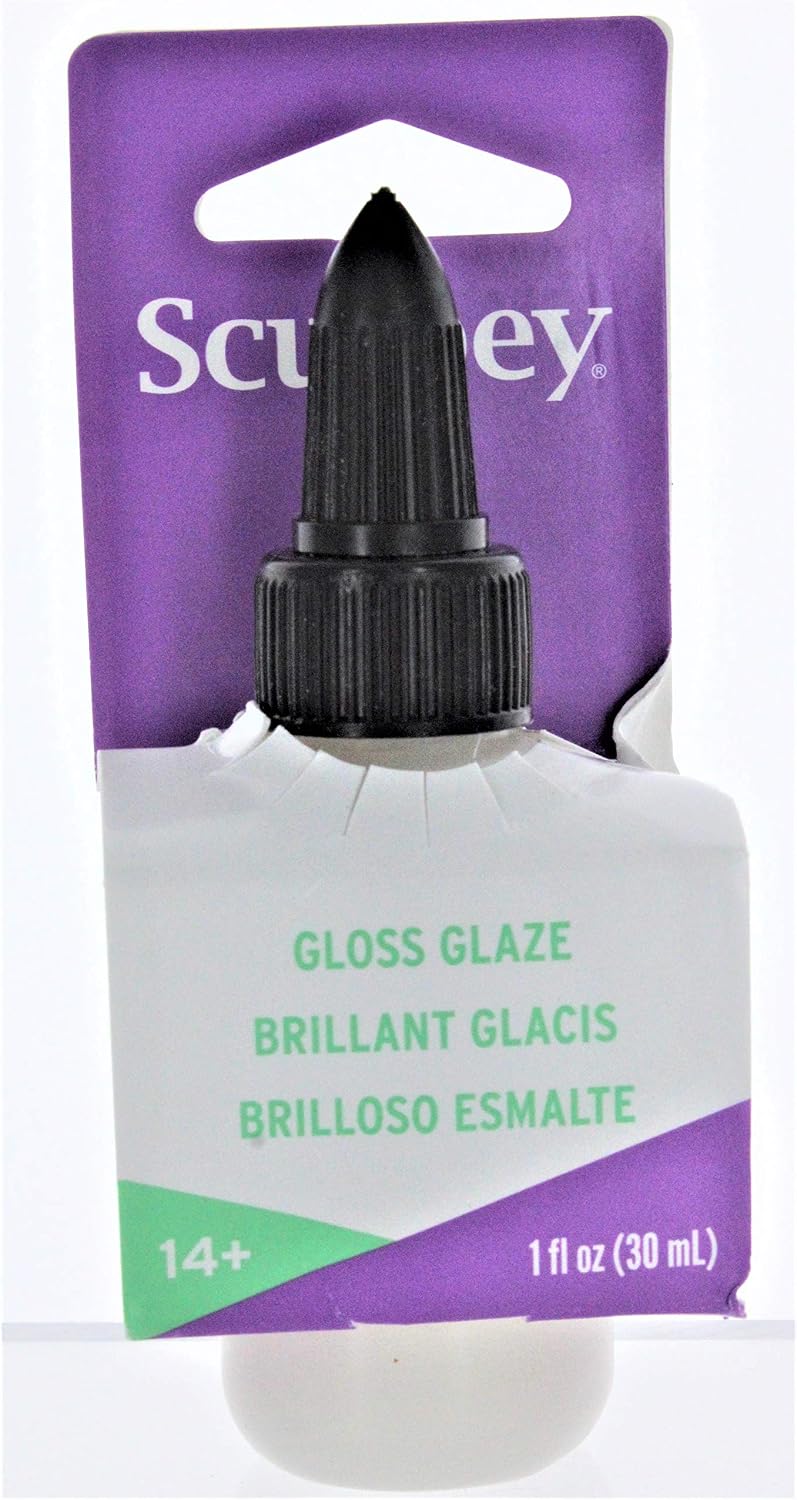
ASG33G | 1 fl oz / 30 mL
View on Amazon (paid link): Sculpey Gloss Glaze, opens Amazon in a new tab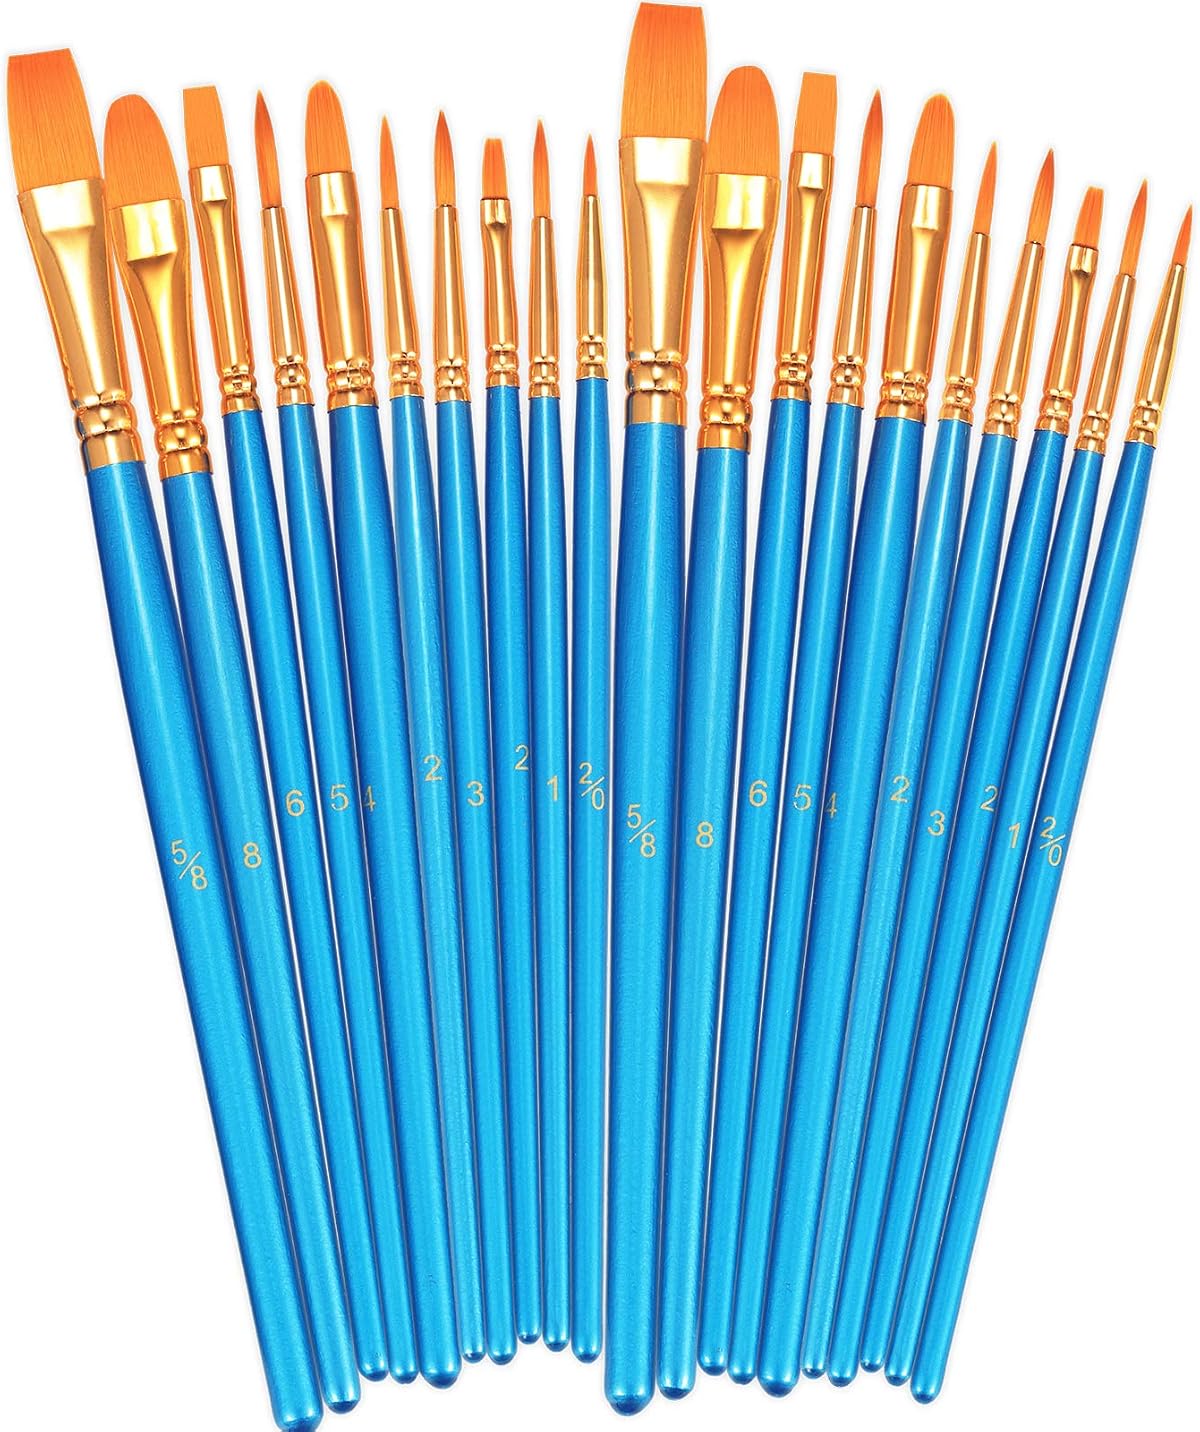
Round and flat tips | 20 pieces
View on Amazon (paid link): BOSOBO small craft brushes, opens Amazon in a new tab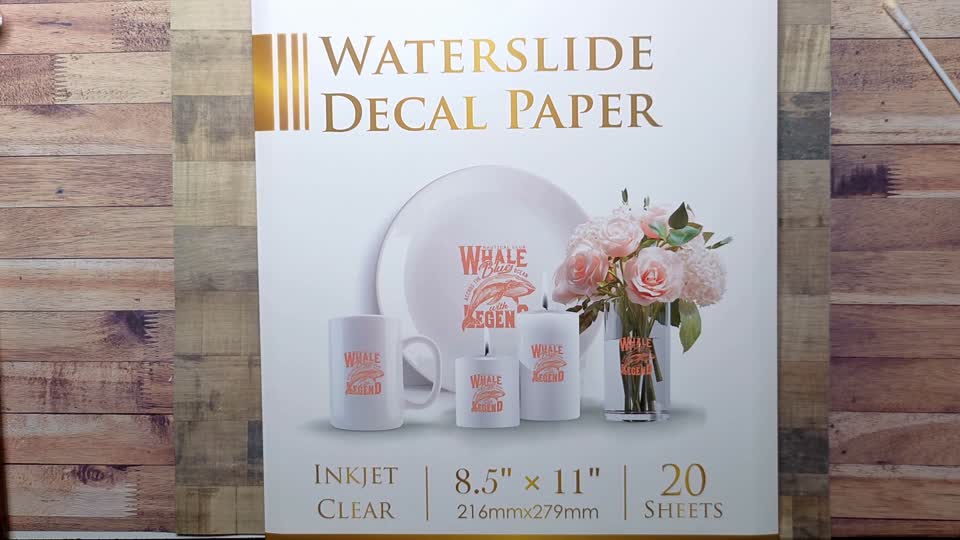
20 sheets | 8.5 x 11 inches. The package shown in the tutorials.
View on Amazon (paid link): A-SUB Clear Inkjet Waterslide Decal Paper, opens Amazon in a new tab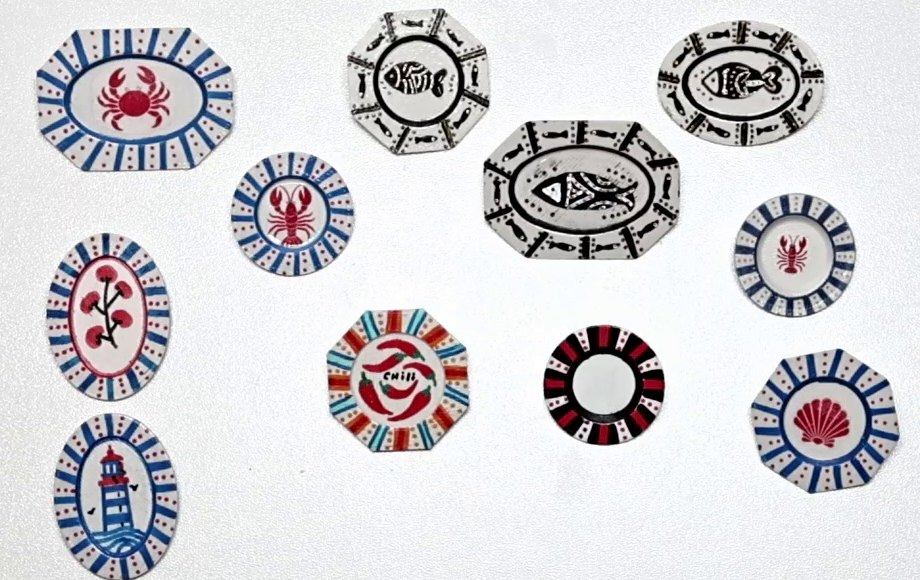
$14.99
48 designs · plates only · 4 shapes, rim + centre
See it in the shop: The Complete Collection Plate Waterslide Decals, 48 Designs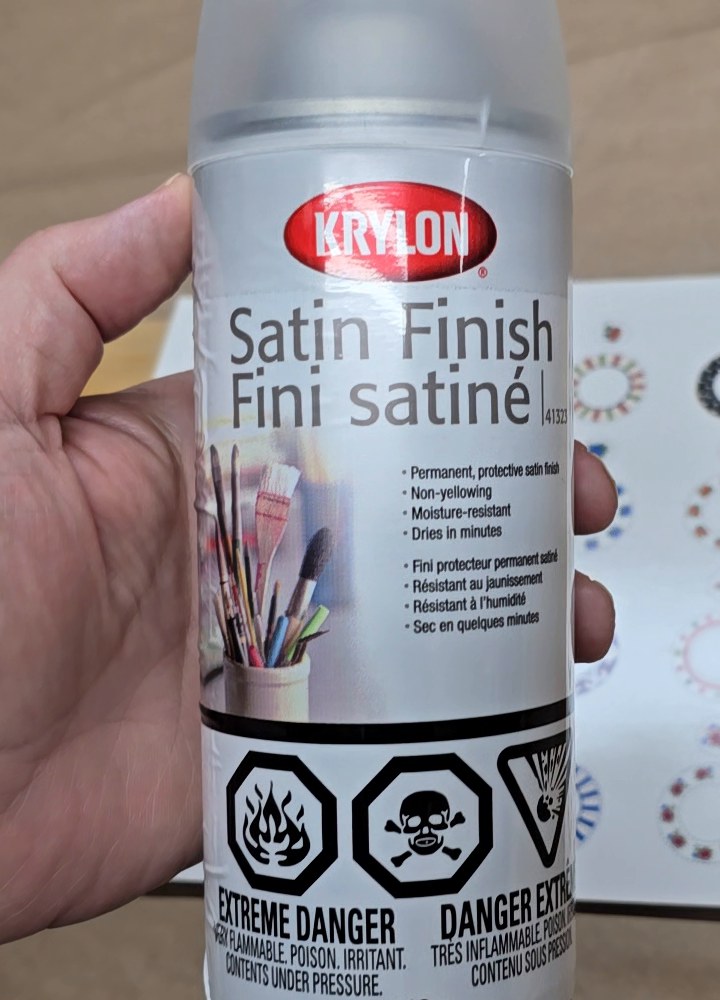
Coco used Krylon Satin Finish, the can sold in Canada. On amazon.com the closest match is Krylon Crystal Clear Matte (K01311). 3 light coats over the printed sheet.
View on Amazon (paid link): Krylon clear sealer spray, opens Amazon in a new tab
Fine, pointed blades for cutting decals
View on Amazon (paid link): Fiskars 5" Micro-Tip scissors, opens Amazon in a new tab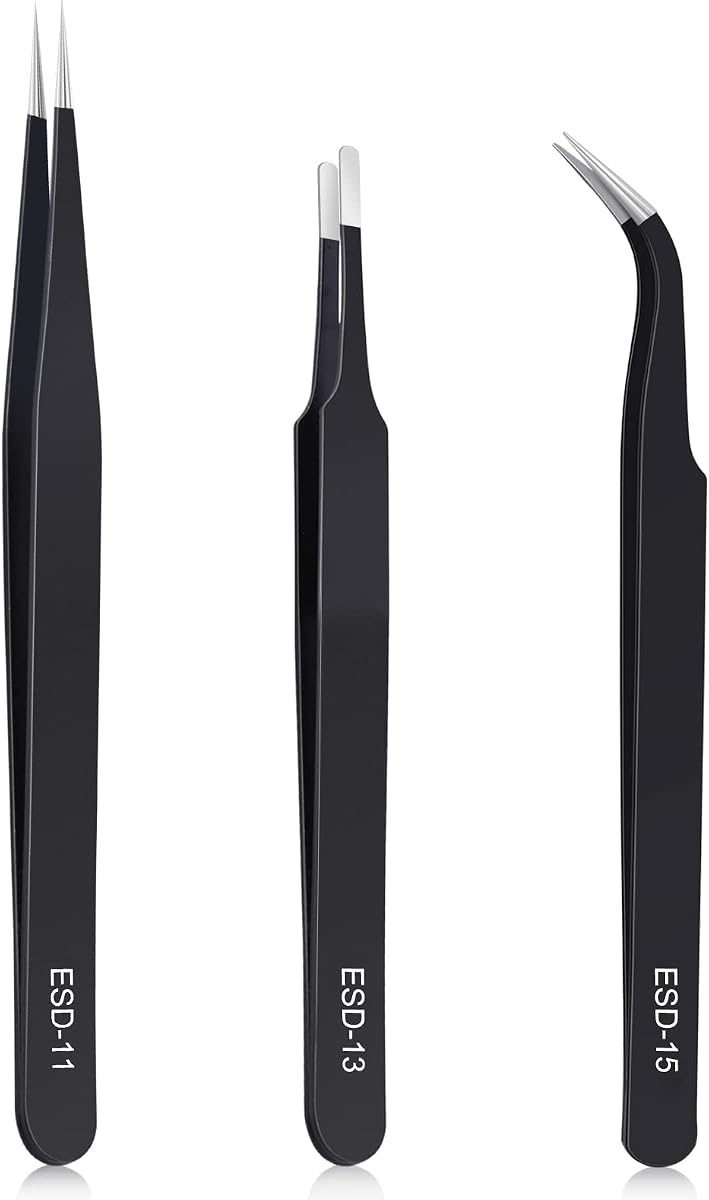
kaverme set | straight and curved fine tips
View on Amazon (paid link): Precision tweezers, 3 pieces, opens Amazon in a new tabSafety: miniatures have small parts and are not food safe. Keep them away from young children and pets.
About 15 seconds, then slide it off the backing onto the plate.
Coco sprays 3 light coats of clear sealer over the printed sheet, 10–15 minutes apart, somewhere well ventilated, and lets it dry at least 2 hours before use.
3D print files for a mold, a cutter and rolling rails. Print them on your own 3D printer or at a local print shop.
No. Coco's designs and files are for personal use only: selling finished items made with them is not allowed, and the files may not be shared or resold.
No. They're decorative and not food safe. They also have small parts, so keep them away from young children and pets.